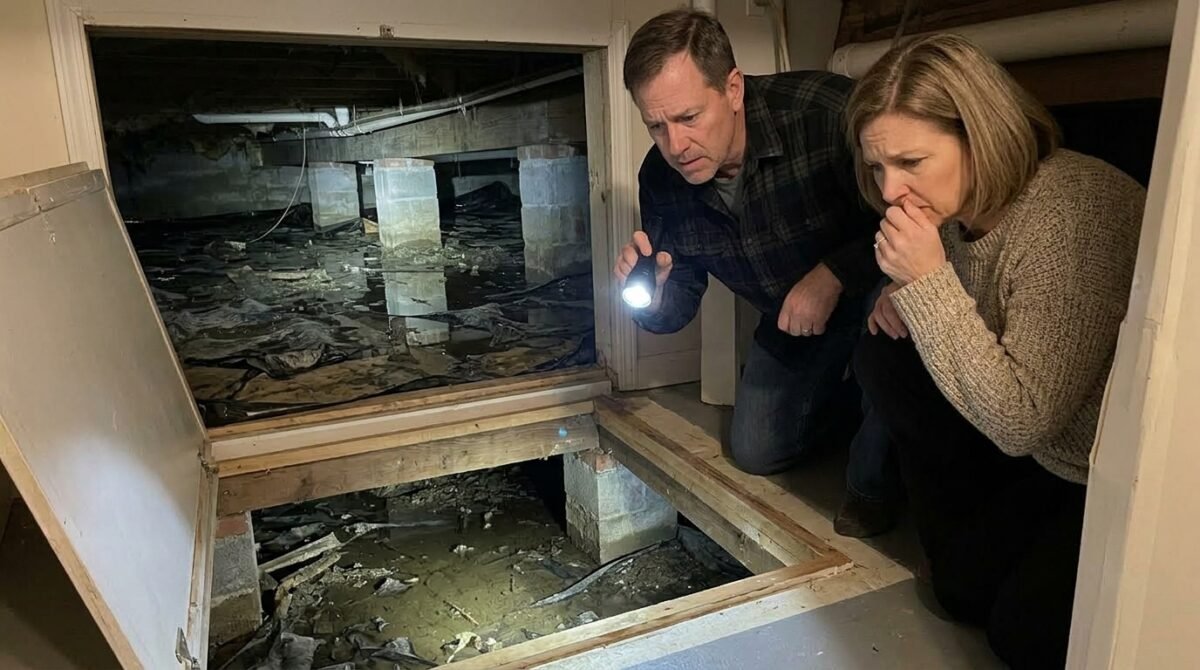
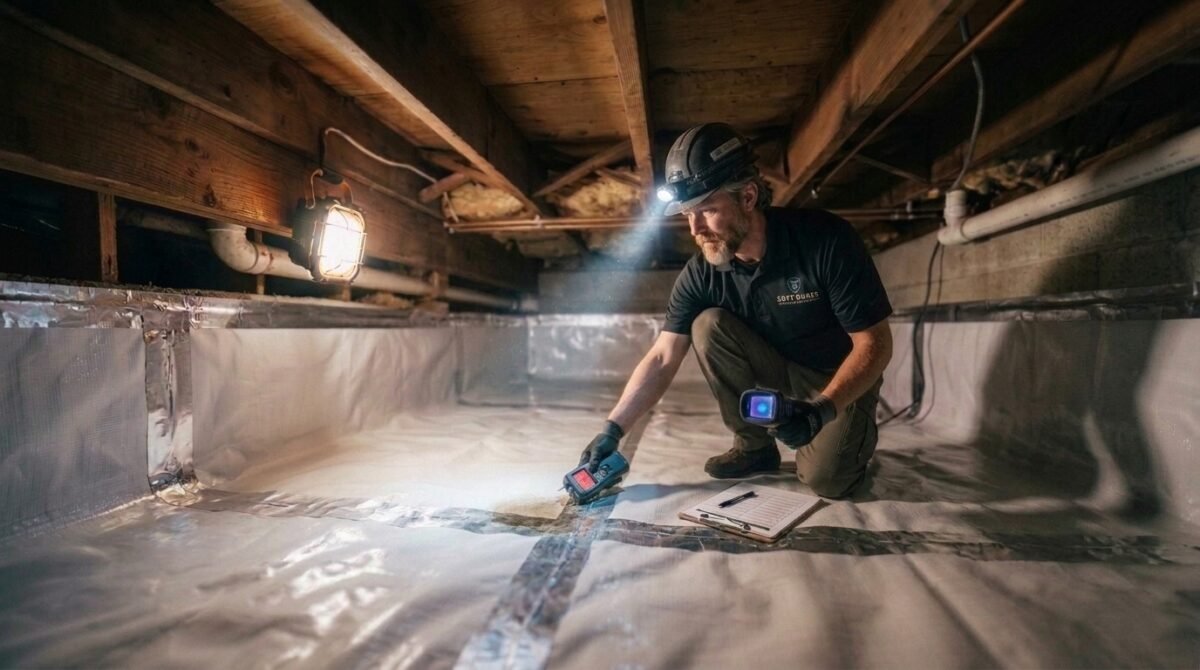
Crack in Basement Wall? What It Means and What to Do Next
How to tell a harmless basement wall crack from a structural one, how to seal it, what repairs typically cost, and when to call a structural engineer.
By Jaweed · Last updated September 24, 2026
Quick Answer: Is a Basement Wall Crack Serious?
Usually not, but check it. Thin vertical or hairline cracks under 1/8 inch that are not growing, leaking or offset are normally cosmetic shrinkage cracks – seal and monitor them. Horizontal cracks, stair-step cracks wider than 1/4 inch, a wall that bows inward, or a crack that keeps widening can be structural and should be checked by a structural engineer.
A crack in a basement wall is one of those things almost every homeowner runs into eventually – and almost every homeowner panics about the first time they see one. The truth sits somewhere in the middle. Most basement wall cracks are cosmetic, caused by ordinary concrete shrinkage or minor foundation settlement. A smaller number are early warning signs of a structural problem that gets more expensive the longer it’s ignored.
This guide walks through exactly how to tell the difference. You’ll learn what causes cracks in basement walls, how to read the shape and direction of a crack to judge its severity, how to repair and seal cracks yourself when it’s safe to do so, what professional repair costs, and when it’s time to stop DIYing and call a structural engineer.
If you haven’t already, it’s worth reading our complete foundation cracks guide for the bigger-picture view of how foundation movement shows up throughout a home, not just in the basement.
What Causes Cracks in Basement Walls?
Almost every basement wall crack traces back to one of a handful of root causes. Understanding which one applies to your home helps you judge urgency and pick the right fix.
- Concrete shrinkage and curing – as poured concrete cures over its first year, it naturally loses moisture and shrinks slightly, producing thin, hairline cracks that are almost always cosmetic.
- Foundation settlement – soil beneath part of the foundation compacts or shifts unevenly, causing that section of wall to drop slightly relative to the rest of the structure.
- Hydrostatic pressure – after heavy rain or snowmelt, saturated soil pushes against the outside of the foundation wall; over time this pressure can bow or crack the wall, especially in poured or block foundations with poor drainage.
- Soil movement and expansive clay – soils that swell when wet and shrink when dry exert repeated, uneven pressure on foundation walls, a common cause in regions with heavy clay soil.
- Tree roots – large trees planted too close to the foundation can both dry out the soil unevenly and, in some cases, physically pressure the wall as roots expand.
- Poor exterior grading and drainage – if the ground around your home doesn’t slope away from the foundation, water pools against the wall instead of running off, accelerating hydrostatic pressure and freeze-thaw cracking.
- Original construction issues – cracks that appear in a newly built home are sometimes tied to fast curing schedules, thin wall pours, or inadequate rebar reinforcement.
Checking your yard’s slope and soil type is a useful first diagnostic step – our soil type guide breaks down how different soil compositions behave around a foundation, and pairing that with well-draining soil around the foundation perimeter is one of the cheapest ways to prevent new cracks from forming.

Basement Seepage: Where Water Gets In and What It Costs
Water coming through a crack is a separate problem from the crack itself. Even a stable, non-structural crack needs attention once it leaks, because ongoing moisture leads to mold, efflorescence and damaged finishes.
Why cracks leak through the wall
After heavy rain or snowmelt, saturated soil presses against the outside of the foundation (hydrostatic pressure) and pushes water through any available path – most often vertical shrinkage cracks, form-tie holes and cold joints in poured concrete.
Why water appears where the floor meets the wall
When groundwater rises above the underside of the floor slab, upward pressure forces water through the joint where the floor meets the wall (the cove joint), through slab cracks, and through gaps left as the slab shrank while curing. Water at the floor edge usually points to high groundwater or failed drainage rather than a wall crack.
Common sources of basement moisture
- Hydrostatic pressure: saturated soil pushing sideways and upward against the foundation.
- High water table: long wet spells raise groundwater above the slab.
- Poor exterior drainage: clogged gutters, short downspouts and flat or reversed grading send roof and surface water toward the wall.
- Cove-joint gaps: the small gap where the slab meets the wall is a common entry point.
Typical costs to stop basement leaks
| Repair | Best for | Typical cost |
|---|---|---|
| Polyurethane crack injection | A single leaking wall crack | $300–$800 per crack |
| Interior perimeter drain (drain tile) | Water entering at the floor edge or cove joint | $4,000–$10,000 |
| Sump pump installation | High water table, recurring floor water | $1,200–$2,500 |
| Exterior excavation and waterproofing membrane | Severe or widespread wall leaks | $8,000–$15,000+ |
These are broad estimates, not quotes. Get at least two written quotes from local contractors before committing to a repair.
What actually fixes basement seepage
- Start outside: clean gutters, extend downspouts at least 5 feet from the foundation and slope soil away from the wall. It is the cheapest fix and helps every other repair last.
- Polyurethane injection for isolated leaking cracks – it expands to fill the crack through the wall thickness.
- Interior drain tile and a sump pump for water entering along the floor edge – the system collects water under the slab and pumps it out.

Can Tree Roots Crack a Basement Wall?
Yes, but usually indirectly. Trees most often damage foundations by drying out the soil, not by pushing on the wall.
Soil drying and uneven settlement (most common)
Large trees pull a lot of water from the soil, especially in hot, dry weather. In clay and other expansive soils, that drying makes the soil shrink, and the part of the foundation nearest the tree can lose support and settle. Uneven settlement shows up as vertical or diagonal cracks.
Direct root pressure (less common)
Roots do not bore into sound concrete, but a large root growing tight against a wall thickens every year and can add sideways pressure – most often on older block or clay-tile walls. That can contribute to horizontal cracking or inward bowing.
Signs a tree may be involved
- Seasonal movement: cracks open during dry summers and close slightly in wet seasons.
- Proximity: a large tree is growing closer to the house than its mature height.
- Lifted paving: nearby driveways, patios or walks are raised or cracked toward the tree.
- Uneven settling: diagonal wall cracks plus sticking doors or windows on the side of the house nearest the tree.
Trees that often cause problems near foundations
| Trees | Root behavior | Commonly suggested distance from foundation |
|---|---|---|
| Willow, poplar | Aggressive, moisture-seeking, shallow | 40 ft or more |
| Oak, elm | Large, wide lateral spread | 30 ft or more |
| Maple, ash | Dense, wide-spreading roots | 25–30 ft |
| Pine, spruce | Mostly shallow, spreading | 20–25 ft |
For a specific tree, ask a certified arborist. On shrink-swell clay soils, larger distances are safer.
What to do about it
- Root barrier: a high-density polyethylene (HDPE) barrier installed 2–3 feet deep between the tree and the house redirects roots. Have it installed carefully so the tree is not destabilized.
- Keep soil moisture even: water the foundation zone with a soaker hose or drip line during long droughts so the soil does not shrink.
- Prune or remove problem trees: a certified arborist can advise whether root pruning is safe or removal is the better option.
- Seal and monitor: stable, non-structural settling cracks can be sealed from inside with an injection kit. Horizontal cracks or bowing need a structural engineer.

Can Heavy Traffic Vibration Crack a Basement Wall?
Living near a highway, rail line or construction site rarely cracks sound concrete through vibration alone. When traffic does play a part, it usually works through the soil or makes existing cracks worse.
Soil compaction and settlement
Repeated vibration can settle loose, sandy or poorly compacted fill beneath a footing. If one part of the foundation settles more than another, vertical or diagonal cracks can form.
Widening of existing cracks
Vibration is more likely to lengthen or open existing shrinkage cracks and weak mortar joints than to create new structural cracks – and wider cracks let in more water.
Signs traffic may be a factor
| Sign | What you notice | Why it matters |
|---|---|---|
| Noticeable vibration | Windows rattle or floors shake when heavy vehicles pass | Strong ground vibration is reaching the house |
| Close to heavy traffic | Home sits near a highway, busy truck route or railway | Frequent heavy loads pass nearby |
| Road defects outside | Potholes, uneven utility covers or speed bumps near the house | Wheel impacts create vibration spikes |
| Changing cracks | Existing cracks lengthen, widen or shed fine soil or water | Settlement may be ongoing |
What to do
- Report road defects: ask your local municipality to repair potholes or uneven covers outside your home.
- Seal stable cracks: use polyurethane injection for leaking cracks or epoxy for dry, stable cracks in poured concrete.
- Monitor movement: fit a crack-monitor gauge and record readings with dates. If movement lines up with traffic or nearby construction, or if horizontal cracks or bowing appear, consult a structural engineer.
- Document before nearby construction: if major roadwork or building work is planned next door, photograph and measure existing cracks before it starts.

Is a Crack in Your Basement Wall a Problem? How to Tell
Not every crack means trouble, but a few warning signs separate a cosmetic crack from a structural one. Use this checklist before deciding your next step.
- Width – cracks under 1/8 inch wide are usually minor; anything wider than 1/4 inch, or a crack that keeps widening, deserves a professional look.
- Direction and shape – vertical and diagonal hairline cracks are typically less concerning than horizontal or stair-step cracks (more on why below).
- Displacement – if one side of the crack sits higher, lower, or further out than the other, that’s a sign of active structural movement, not just surface shrinkage.
- Bowing or leaning – if the wall itself curves inward along the crack, hydrostatic pressure is actively pushing on the foundation and this should be addressed quickly.
- Leaking – a crack that lets water through, even occasionally, needs to be sealed regardless of how structurally minor it looks, since ongoing moisture leads to mold, efflorescence, and further deterioration.
- Growth over time – mark the ends of a crack with a pencil and date, and check back in a few weeks. A crack that’s growing is far more urgent than one that’s stayed the same size for years.
When in doubt, get a second opinion. A qualified home inspector or structural engineer can tell you in about twenty minutes whether a crack is cosmetic or something to act on – money well spent compared to guessing wrong in either direction.

Types of Basement Wall Cracks (And What Each One Means)
The shape of a crack tells you almost as much as its width. Here’s what each common pattern usually indicates.
Horizontal Cracks
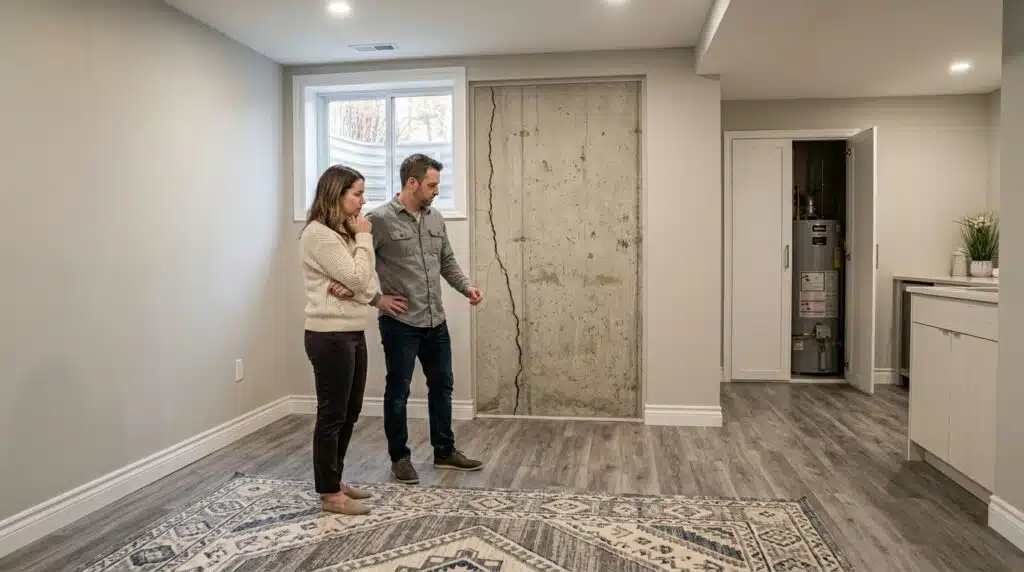
Horizontal cracks are the type structural engineers take most seriously. A crack running roughly parallel to the ground across a basement wall – especially one appearing a few feet below grade – is a classic sign of hydrostatic pressure or frost pressure pushing the wall inward from the outside.
Left unaddressed, a horizontal crack can progress to a bowing wall and eventually a wall failure. If you notice a horizontal crack, especially alongside any inward curve in the wall, get a structural evaluation before attempting a cosmetic patch. Tree roots growing against block foundations are another occasional cause of horizontal cracking, particularly in older homes with clay tile or concrete block basement walls.
Vertical Cracks
Vertical cracks running up and down the wall are the most common type and, in most cases, the least concerning. They typically result from normal concrete shrinkage during curing or minor, even settlement. A thin, straight vertical crack that doesn’t widen, leak, or show displacement is usually safe to seal and monitor rather than treat as an emergency.
Diagonal and 45-Degree Cracks
Diagonal cracks, often running at roughly a 45-degree angle from a corner, usually point to uneven settlement – one section of the foundation has settled more than an adjacent section. These are worth monitoring closely, particularly if the crack originates near a window, door, or corner where stress concentrates.
Stair-Step Cracks
Stair-step cracks follow the mortar joints in a block or brick foundation wall in a zigzag pattern. They’re a strong indicator of differential settlement – the foundation is moving unevenly along its length. Stair-step cracks that are wider than 1/4 inch, or that appear alongside a bowing wall, generally warrant a structural engineer’s assessment rather than a DIY fix.
Hairline Cracks
Hairline cracks – thin enough that a business card won’t fit inside – are almost always cosmetic, caused by normal concrete curing shrinkage. They’re extremely common in poured concrete foundations within the first year after construction. The main reason to still seal a hairline crack is moisture: even a crack too thin to see clearly can wick groundwater into the basement over time.

Leaking Basement Wall Cracks: What It Means and What To Do
A crack that’s letting water into the basement is a different problem from a crack that’s simply visible. Even a hairline crack can transmit water under enough hydrostatic pressure, and once water is getting in, mold, efflorescence (the white chalky mineral deposit left behind as water evaporates), and damage to stored belongings tend to follow quickly.
If water is actively coming through a crack during or after rain, the fix usually has two parts: sealing the crack itself (often with an injected epoxy or polyurethane sealant that cures inside the crack) and addressing the water source outside – regrading the soil, extending downspouts away from the foundation, or in more serious cases installing exterior waterproofing or a drainage system.
A vapor barrier in the basement or crawl space is also worth considering as part of a broader moisture-control plan, especially in homes where humidity and minor seepage are an ongoing issue rather than a one-time event.

How to Repair a Crack in a Basement Wall
Most non-structural cracks can be repaired from either the inside or the outside of the wall. Which approach makes sense depends on whether the crack is leaking and how accessible the exterior wall is.
Repairing a Basement Wall Crack From the Inside
Interior repair is the more common DIY approach because it doesn’t require excavation. The typical process:
- Clean the crack thoroughly, removing loose debris, dust, and any old sealant with a wire brush and shop vacuum.
- For narrow, non-structural cracks, apply an epoxy or polyurethane injection kit – these products are forced into the crack under pressure and cure to a rock-hard, waterproof bond.
- For wider cracks or block-foundation joints, hydraulic cement is a fast-setting option that expands slightly as it cures, sealing the crack even in the presence of active water seepage.
- Allow full cure time before painting over or finishing the wall – rushing this step is the most common reason interior patches fail early.
Repairing a Basement Wall Crack From the Outside
Exterior repair addresses the crack at its source and is generally the more durable fix for cracks caused by hydrostatic pressure, since it stops water from reaching the wall in the first place rather than just blocking it from the inside.
- Excavate along the foundation down to below the depth of the crack – this is the labor-intensive part, and on deeper foundations it’s often worth hiring a contractor.
- Clean the exterior wall surface and apply a waterproof sealant or membrane directly over the crack and surrounding area.
- Add or repair exterior drainage – a French drain or improved grading redirects water away from the wall so hydrostatic pressure doesn’t rebuild.
- Backfill with well-draining soil rather than dense clay, which reduces future pressure against the wall.
For any repair involving excavation, a basement size calculator can help you estimate how much material – drainage gravel, membrane, backfill – you’ll need before you start digging.

How to Seal a Basement Wall Crack: Products That Actually Work
Not every sealing product is right for every crack. Matching the material to the crack type makes the difference between a repair that lasts and one that fails within a season.
- Epoxy injection – best for structural, load-bearing cracks in poured concrete; bonds the concrete back together and restores much of the wall’s original strength.
- Polyurethane injection – best for cracks that are actively leaking, since it expands and flexes slightly, sealing effectively even with some movement or ongoing moisture.
- Hydraulic cement – a fast-setting, budget-friendly option that works well for small patches and can be applied even while water is seeping through, though it’s less flexible than injected sealants.
- Waterproof masonry paint or coatings (e.g., Drylok-style products) – effective for surface-level moisture resistance on hairline cracks and porous block walls, but not a substitute for sealing a genuine structural crack.
- Exterior waterproofing membranes – applied during exterior excavation repairs, these provide the most comprehensive long-term protection against hydrostatic pressure.
Whichever product you choose, clean the surface first with a pH-neutral concrete cleaner – oils, efflorescence, and old sealant residue are the most common reasons a new patch doesn’t bond properly.

Basement Wall Crack Repair Cost
Repair cost depends heavily on whether the fix is interior-only or requires exterior excavation, and whether the crack is cosmetic or structural.
- DIY interior epoxy or polyurethane injection kit: roughly $50-$150 in materials for a single crack.
- Professional interior injection repair: typically $300-$800 per crack, depending on length and accessibility.
- Hydraulic cement patch (DIY): $20-$50 in materials for small cracks.
- Exterior excavation and waterproofing for a single wall section: often $2,000-$7,000, depending on excavation depth and drainage work required.
- Structural repair (carbon fiber straps, wall anchors, or steel beams for a bowing wall): commonly $4,000-$15,000 or more, depending on the extent of the damage.
Larger structural repairs sometimes overlap with broader home renovation budgets, and homeowners financing major foundation work alongside other upgrades sometimes look into a construction loan to cover the combined cost. It’s also worth checking with your insurer – coverage for foundation cracks varies significantly depending on the cause and your policy’s specific exclusions, per the Insurance Information Institute.

When to Call a Foundation Professional
- The crack is wider than 1/4 inch or growing measurably over a few weeks.
- The wall shows any inward bowing or leaning.
- You see a horizontal or stair-step crack, especially combined with displacement.
- Doors and windows on the floor above have started sticking or misaligning.
- Multiple cracks are appearing at once, or a crack runs the full height of the wall.
- You’re simply not sure – a one-time inspection is inexpensive insurance against a much larger repair bill later.
A home inspection following ASHI standards is a low-cost way to confirm whether a crack is safe to monitor or needs immediate attention.

Safety Guidelines for Homeowners Dealing With a Basement Wall Crack
A cracked basement wall isn’t just a structural question – it can affect indoor air quality and household safety in ways that are easy to overlook.
- Mold and air quality – any crack that’s let water in, even briefly, creates conditions mold can grow in within 24-48 hours; ventilate the area and clean visible growth promptly, following EPA guidance on mold cleanup.
- Radon – cracks in a foundation wall or floor are a common entry point for radon gas; if you haven’t tested your basement for radon recently, a crack repair is a good prompt to do so (see the EPA’s radon testing guidance).
- Structural safety during excavation – never dig deeper than about knee height along a foundation without sloping or shoring the trench walls; foundation excavation trenches can collapse without warning.
- Electrical caution – if a crack is leaking near an outlet, junction box, or the electrical panel, shut off power to that area before doing any work and consider having a licensed electrician assess exposed wiring.
- Don’t ignore a widening crack to save money – a crack that is growing usually gets more expensive to fix the longer it is left.

Related Guides and Sources
If your repair plan includes regrading or retaining a slope near the foundation, landscape timbers are a durable option for edging garden beds away from the foundation wall, and a building materials calculator can help you budget gravel, membrane, and backfill quantities for the whole project.
More on foundations and moisture:
- Foundation cracks: types, causes and repair
- Water in a crawl space after rain
- Crawl space encapsulation: cost and warning signs
Sources and further reading:
- U.S. EPA – A Brief Guide to Mold, Moisture and Your Home
- U.S. EPA – Find a radon test kit or mitigation professional
- American Society of Home Inspectors – Standards of Practice
- Insurance Information Institute – homeowners insurance basics
Cost ranges in this guide are general U.S. estimates for planning only. Always get written quotes from licensed local contractors, and consult a structural engineer for any crack that is widening, offset or horizontal.
Basement Wall Crack FAQs
It depends on the type. Thin, straight vertical or hairline cracks are usually cosmetic. Wide, horizontal, stair-step, or actively growing cracks are more likely to indicate a structural issue and are worth a professional evaluation.
A non-structural crack is typically thin, straight, and stable, caused by shrinkage or minor settlement. A structural crack is wide, displaced, horizontal, or growing, and indicates the wall’s load-bearing capacity may be compromised.
Mark both ends of the crack with a pencil and the date, then check every few weeks. If the crack lengthens, widens, or the wall shows new displacement, treat it as actively progressing and get a professional opinion.
No – a sump pump manages water that’s already in the basement, but it won’t seal the crack itself or stop moisture from entering through it. Crack sealing and a sump pump are complementary, not interchangeable.
Yes – hydraulic cement is a fast-setting patch that works well for small to medium cracks and can even be applied while water is actively seeping through.
Waterproof masonry coatings like Drylok help resist surface moisture on porous walls and hairline cracks, but they aren’t a substitute for injecting a structural or actively leaking crack with epoxy or polyurethane.
You can, but paint alone won’t stop moisture intrusion or address the underlying cause – it’s better used as a finishing step after the crack has been properly cleaned and sealed.
A properly applied epoxy injection bonds the two sides of the crack together and can last for decades – but only if whatever caused the movement (settlement, water pressure, poor drainage) has been dealt with. If the wall keeps moving, a new crack can form beside the repair.
Yes – new poured concrete commonly develops thin shrinkage cracks within its first year of curing. These are generally cosmetic but should still be monitored and sealed if they let in moisture.
Small, shallow excavation for surface sealing is sometimes DIY-friendly, but deeper excavation carries real collapse risk and is usually best left to a contractor with proper trench safety equipment.
Yes, but most buyers’ inspectors will flag it, and many buyers will ask for either a repair or a price concession. Getting a professional assessment and documenting any repair before listing usually smooths negotiations.
It depends on the cause and your specific policy – damage from a sudden event is more often covered than gradual settlement or water seepage, so it’s worth reviewing your policy’s foundation-related exclusions directly with your insurer.
The Bottom Line
Most basement wall cracks are manageable, ordinary maintenance items rather than emergencies – but the only way to know for sure is to look closely at the crack’s shape, width, and behavior over time. Seal what’s safe to seal, monitor what needs monitoring, and don’t hesitate to bring in a structural engineer the moment a crack shows displacement, bowing, or rapid growth. Catching a foundation issue early is almost always cheaper, safer, and less disruptive than waiting for it to become obvious.