Green Giant Arborvitae Spacing: 3 Feet Apart? 5 Feet? 8 Feet?
You’ve decided on Green Giant arborvitae for your privacy screen. Good call, it’s one of the fastest, most forgiving evergreens you can plant. But now you’re staring at a row of five-gallon pots in your driveway, tape measure in hand, and every source you check gives you a different number: 3 feet, 5 feet, or 8 feet apart.
Get this wrong and you’ll either wait years for gaps to close, or end up with a crowded green wall that struggles for light and air a decade from now. Neither is a disaster, but both cost you time, money, or a future round of tree removal.
The honest answer is that all three spacings are correct, for different situations. This guide breaks down exactly which spacing fits your yard, your timeline, and your budget, plus everything else you need to keep these trees thriving for the next 30 years.
What Is Green Giant Arborvitae?
Green Giant arborvitae (Thuja standishii x plicata ‘Green Giant’) is a hybrid evergreen conifer bred from Western Redcedar and Japanese Thuja. It was developed in Denmark in the 1930s and introduced to American landscapes in the 1990s, and it quickly became the go-to replacement for Leyland Cypress after cypress canker problems started wiping out privacy hedges across the Southeast, a shift the Clemson Extension rundown of Leyland cypress alternatives walks through in more detail.
What makes it different from older arborvitae varieties is speed and resilience. It grows faster than Emerald Green arborvitae, resists deer better than most cedars, and shrugs off the ice, wind, and drought that damage more delicate evergreens.
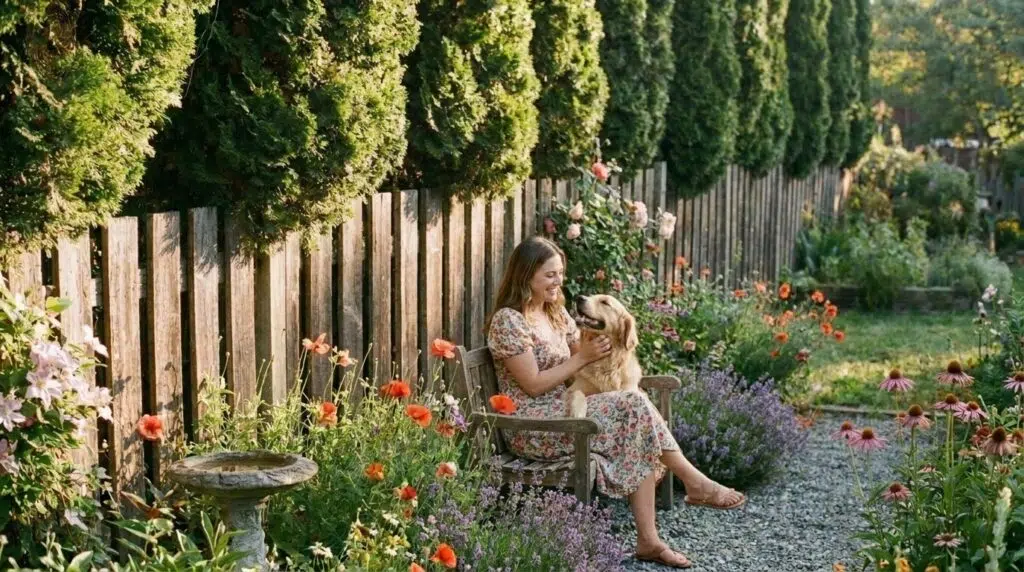
Mature Green Giants reach 40 to 60 feet tall and 12 to 18 feet wide if left completely unpruned, though most residential hedges are kept between 15 and 25 feet tall through occasional trimming. The growth habit is a tight, pyramidal cone, dense at the base and tapering to a point, which is exactly the shape you want for uninterrupted privacy from the ground up. For the full botanical rundown, check the Missouri Botanical Garden official cultivar profile, which covers the cultivar’s origin and traits in detail.
| Feature | Detail |
|---|---|
| Botanical name | Thuja standishii x plicata ‘Green Giant’ |
| Mature height (unpruned) | 40-60 feet |
| Mature width (unpruned) | 12-18 feet |
| Growth rate | 3-5 feet per year once established |
| Hardiness zones | 5-9 |
| Sun requirement | Full sun to partial shade |
| Deer resistance | Moderate to good |
| Typical lifespan | 40+ years with proper care |

Green Giant Arborvitae Spacing: The Real Answer
Here’s the thing nobody tells you upfront: spacing isn’t really about the tree’s needs. It’s about your needs. Do you want privacy next summer, or are you fine waiting five years for a fuller, healthier hedge? That single question decides your number.
3 Feet Apart: Fast Privacy, Higher Maintenance
Planting 3 feet on center gives you a solid green wall in roughly 2 to 3 years instead of 5 to 7. This is the spacing landscapers use when a client needs privacy immediately and is willing to pay for the extra plants and the extra pruning that comes later.
The tradeoff is real. At 3 feet, mature trees will compete hard for root space, light, and airflow. You’ll need to prune sides more aggressively to keep individual trees from merging into one indistinct mass, and poor airflow between trunks raises the risk of fungal issues in humid climates.
Best for: Narrow side yards, quick privacy screens, or situations where you plan to keep the hedge trimmed low and tight rather than letting it reach full size.
5 Feet Apart: The Balanced Standard
Five feet is the spacing most arborists and nurseries recommend for a standard residential privacy hedge. It closes into a solid screen in about 4 to 6 years while giving each tree enough root room to stay healthy for decades.
At this spacing, you get a full, uninterrupted wall of green without the long-term crowding problems that come with tighter plantings. Airflow stays decent, and each tree can still be pruned individually if one gets damaged or diseased without tearing a hole in the whole hedge.
Best for: Most backyard privacy hedges, property line screening, and anyone who wants a genuine long-term hedge rather than a quick fix.
8 Feet Apart: Specimen Spacing, Long-Term Health
Eight feet or more is for people planting Green Giants as individual specimen trees rather than a fused hedge, think a windbreak, a backdrop planting behind a garden bed, or a screen where a bit of separation between trunks as the trees mature is actually the look you want.
This spacing lets each tree reach its full natural width without any crowding, ever. It also means significantly less pruning maintenance over the tree’s lifetime, since branches rarely need to be cut back just to make room for a neighbor.
Best for: Large properties, windbreaks, informal screening, or anywhere you’re planting fewer, larger specimens instead of a dense wall.
| Spacing | Time to Full Privacy | Trees Needed per 100 ft | Long-Term Maintenance | Best Use Case |
|---|---|---|---|---|
| 3 feet | 2-3 years | ~34 | High (frequent pruning) | Fast screen, narrow spaces |
| 5 feet | 4-6 years | ~20 | Moderate | Standard privacy hedge |
| 8 feet | 6-10 years | ~13 | Low | Windbreak, specimen planting |
If you’re planning a longer fence line, plug your fence line into this tool and get an exact tree count before you buy, it’s a lot cheaper to double-check the math than to end up with leftover trees or a gap at the end of the row.

How to Plant Green Giant Arborvitae the Right Way
Spacing only pays off if the planting itself is done well. Get these steps right and your trees will establish faster and need far less babying in year one.
Step 1: Time It Right
Fall and early spring are the best windows for planting Green Giant arborvitae. Cooler temperatures let roots establish before summer heat stresses the tree, and fall planting in particular gives roots a full season to settle in before the following summer arrives. Avoid planting during the peak of summer if you can help it, since new transplants struggle to keep up with water demand in hot weather.
Step 2: Check Your Soil
Green Giants aren’t fussy, but they do want well-drained soil. Standing water around the roots is one of the fastest ways to invite root rot. If your yard tends to stay soggy after rain, take a few minutes to figure out what kind of soil you are actually working with, or consider a raised planting mound to improve drainage before committing to a full row.
Step 3: Dig the Hole Correctly
Dig the hole twice as wide as the root ball but no deeper than the root ball itself. Planting too deep is one of the most common reasons new arborvitae struggle, it suffocates the root flare and invites rot at the base of the trunk.
Step 4: Backfill and Water Deeply
Backfill with the native soil you removed (amending heavily with foreign soil can actually discourage roots from spreading outward). Water deeply right after planting to eliminate air pockets, then apply 2 to 3 inches of mulch around the base, keeping it a few inches away from the trunk itself.
Step 5: Water Consistently for the First Year
New arborvitae need consistent moisture for the first 12 months while roots establish. A soaker hose run for 30 to 45 minutes, once or twice a week depending on rainfall, works well for most soil types. Once established, Green Giants are considerably more drought-tolerant.

Sun, Soil, and Watering Needs
Green Giant arborvitae grows fastest and fullest in full sun, at least 6 hours a day, though it tolerates partial shade reasonably well. In deep shade, growth slows noticeably and the foliage can thin out on the shaded side, which matters if you’re relying on it for privacy.
Soil-wise, it prefers slightly acidic to neutral, well-drained soil, but it isn’t picky about soil type as long as drainage is decent. Heavy clay is workable if you amend the planting area or mound the row slightly to keep roots out of standing water. It helps to know what well-draining soil looks and feels like before you dig, since that single detail predicts more planting problems than almost anything else.
Watering needs drop significantly once the tree is established, usually after the first full growing season. Mature Green Giants handle short dry spells well, but extended drought will show up as browning tips or slowed growth. If your property runs hot and dry for long stretches, sizing out a more drought-tolerant planting plan nearby for the rest of the bed can save the hedge some competition for water.

Pruning and Long-Term Maintenance
Green Giant arborvitae doesn’t need heavy pruning to stay healthy, but a little shaping goes a long way toward keeping the hedge dense and attractive.
- When to prune: Late spring through mid-summer, after the first flush of new growth has hardened off slightly.
- What to prune: Focus on the sides, not the top, if you want to maintain height. Light shearing keeps the outer foliage dense rather than leggy.
- How much to remove: Never cut back into bare wood. Unlike some shrubs, arborvitae won’t reliably resprout from old wood without any green needles, so always leave some green foliage on every cut branch, a point the Clemson guidance on pruning narrow-leaf evergreens also makes for narrow-leaf evergreens generally.
- Height control: If a hedge is getting taller than you want, top it gradually over two or three seasons rather than making one drastic cut, which can leave an ugly flat scar for years.
For a fence-line hedge, checking your row against a season-by-season trimming schedule can help you time pruning sessions so you’re not shaping during a stress period like drought or right after a hard freeze.

Common Problems: Brown, Yellow, and Dying Arborvitae
Most arborvitae problems trace back to one of a handful of causes, and catching the pattern early makes treatment far easier.
| Symptom | Likely Cause | What to Do |
|---|---|---|
| Interior browning, fall only | Normal seasonal needle drop | No action needed, this is natural |
| Browning on one side, facing wind | Winter burn / desiccation | Water deeply before ground freezes; consider an anti-desiccant spray |
| Yellow tips, new growth | Nutrient deficiency or transplant stress | Apply a balanced, slow-release fertilizer in spring |
| Widespread branch dieback | Fungal blight (Kabatina or Phomopsis) | Prune out affected branches, improve airflow, avoid overhead watering |
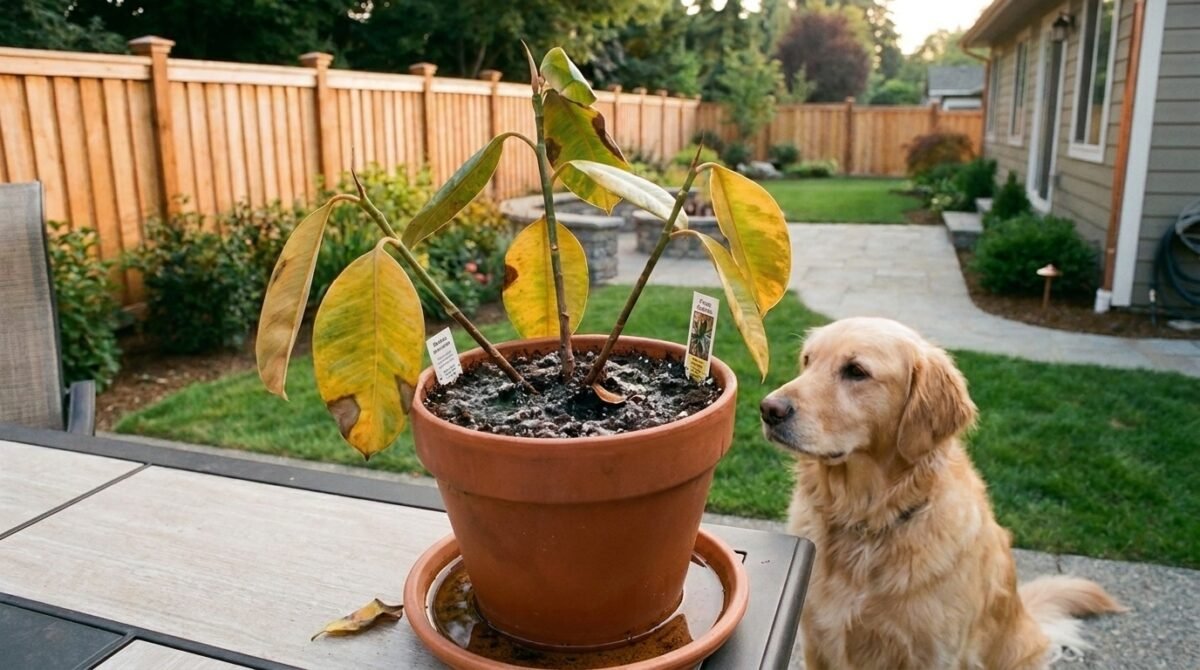
| Base yellowing, wilting despite watering | Root rot from poor drainage | Improve drainage; avoid watering an already-soggy area |
| Fine webbing, stippled needles | Spider mites | Spray with water to dislodge, or use horticultural oil in a bad infestation |
| Bag-like cocoons hanging from branches | Bagworms | Hand-pick and destroy bags before eggs hatch in late spring, following the Clemson integrated pest management guide for bagworms |
If you suspect a nutrient issue rather than disease, it’s worth taking a moment to match the right formulation to your soil instead of guessing instead of guessing at a fix.
Winter Burn Deserves Special Attention
Winter burn, that reddish-brown discoloration on the side of the tree facing prevailing winter winds, is probably the single most common complaint with Green Giant arborvitae in colder zones. It happens when the foliage loses moisture faster than the frozen roots can replace it. A deep watering in late fall, before the ground freezes solid, is the single best prevention step. The University of Maryland Extension breakdown of winter damage on landscape plants goes into more depth on why this happens and which evergreens are most at risk.

Winter Care and Protection
Established Green Giants handle cold down to zone 5 without special protection, but young trees in their first two winters benefit from a little extra care:
- Water deeply in late fall before the ground freezes.
- Apply a thick layer of mulch to insulate roots.
- Wrap young or exposed trees in burlap if they’re in a windy, open location.
- Brush heavy, wet snow off branches promptly to prevent limb splay or breakage.

Landscaping With Green Giant Arborvitae
Green Giant arborvitae works best as a living backdrop rather than a standalone feature, its dense, uniform green makes everything planted in front of it pop. It pairs particularly well with plants that offer color or texture contrast against that solid green wall, and it’s worth understanding how woody plants like this build structure over time if you’re designing a mixed planting around it.
Good companion plantings include hydrangeas, which enjoy a bit of the afternoon shade a tall hedge provides, along with lower shade-tolerant perennials planted right at the hedge’s base. If you’re weighing it against how it stacks up against other privacy tree options, Green Giant mixes well with a variety of understory shrubs since its root system doesn’t compete as aggressively as some faster surface-rooting trees.
For properties dealing with deer pressure, it’s worth taking a moment to see which companion plants deer tend to leave alone before finalizing your companion plant list, Green Giant itself holds up reasonably well against deer, but many popular companion perennials don’t.
If your hedge runs along a property line that also has a physical fence, consider whether timber edging to keep the planting bed defined would help define the planting bed and keep mulch contained. And since a well-placed hedge like this is meant to outlast most other landscape investments, it’s worth browsing other long-lived trees and shrubs worth pairing it with for anything else you plant alongside it.

Buying Green Giant Arborvitae: Sizes and Cost
Prices vary by region, pot size, and whether you’re buying retail or wholesale, but here’s a realistic range for 2026.
| Size at Purchase | Typical Price Range | Best For |
|---|---|---|
| 1-gallon | $10-$20 | Budget plantings, patient gardeners |
| 3-gallon | $25-$45 | Standard starting size for most hedges |
| 7-gallon | $50-$90 | Faster establishment, mid-size instant impact |
| 15-gallon | $100-$180 | Near-instant screening effect |
| 6-8 ft B&B (balled and burlapped) | $150-$300+ | Immediate mature privacy, professional installation typical |
Buying smaller and more patient almost always saves money in the long run, since Green Giant’s fast growth rate (3 to 5 feet a year once established) means a 3-gallon tree can catch up to a 15-gallon tree within just a few seasons.

Green Giant vs. Emerald Green Arborvitae
These two get confused constantly, but they serve different purposes in a landscape.
| Feature | Green Giant | Emerald Green |
|---|---|---|
| Growth rate | 3-5 ft/year | 6-9 inches/year |
| Mature height | 40-60 ft | 12-14 ft |
| Mature width | 12-18 ft | 3-4 ft |
| Best for | Fast, tall privacy screens, large properties | Narrow spaces, formal hedges, small yards |
| Deer resistance | Moderate to good | Lower |
If your space is tight or you want a narrow, formal hedge that won’t outgrow a small yard, Emerald Green is usually the better fit. If speed and height are the priority and you have the room, Green Giant wins easily.
Frequently Asked Questions
How far apart should Green Giant arborvitae be planted?
How fast do Green Giant arborvitae grow?
How much space does an arborvitae need?
How many Green Giant arborvitae do I need for a privacy hedge?
Why is my arborvitae turning brown?
Can you plant arborvitae in the winter?
Are Green Giant arborvitae deer resistant?
How often should I water newly planted arborvitae?
Final Thoughts
Choosing between 3, 5, and 8 feet isn’t about finding the correct number, it’s about matching the spacing to what you actually want out of your hedge. Need privacy fast and don’t mind a bit more pruning down the road? Go tight. Want a hedge that stays healthy and low-maintenance for decades? Split the difference at 5 feet. Have the space and want individual, statuesque trees? Give them room at 8 feet or more.
Whichever you choose, the fundamentals stay the same: plant at the right time of year, don’t bury the root flare, water consistently through year one, and keep an eye out for winter burn in colder climates. Do that, and the quick spacing calculation you ran today will be the last spacing decision this hedge ever gives you trouble over, it’ll be doing its job quietly, densely, and reliably for the next 30 to 40 years.